 Home
Home PC
PC PlayStation
 Nintendo Switch
 Mobile
 Esports
 Anime and Manga
Navigate the Treacherous World of Baldur’s Gate and Avenge the Hag Survivors in Act Three

In the complex and perilous world of Baldur’s Gate 3, hags pose a significant threat to players. The treacherous Auntie Ethel introduced hags to the story in Act One, and players must once again confront them in Act Three through the quest “Avenge the Hag Survivors.” This guide will help you navigate the intricacies of this quest and its follow-up, providing insight into the steps to take and the characters you’ll encounter.
1. Meeting Lora:
To begin your quest, follow the hag survivors’ guidance to the Flaming Fist garrison. Lora, a desperate mother searching for her missing daughter Vanra, is inside a room on the east side of the garrison’s training yard. The mysterious Blaze Liara Portyr will also be present in the same room. If you pass an Arcana check, you may sense irregularities in Liara’s memory, which can be further confirmed with a successful DC 18 Arcana check. Unfortunately, Liara cannot provide much assistance.
Speak to Lora directly and promise to help her find her daughter. Lora shares that she last saw Vanra at the Blushing Mermaid tavern and her drinking buddies couldn’t provide any information. The tavern’s bartender, Bosun Gannet, and its owner, Captain Grisly, refused to offer any aid.
2. Investigating the Blushing Mermaid:
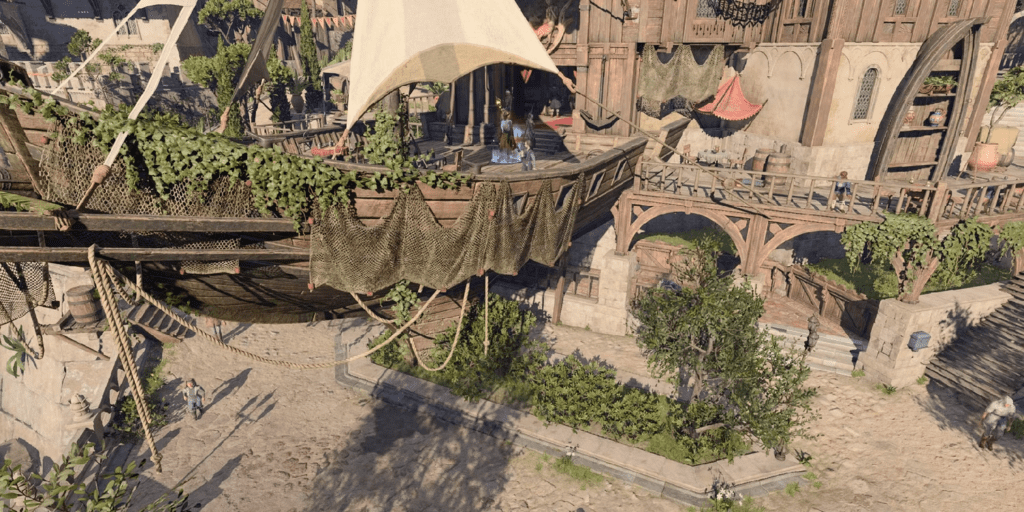
The Blushing Mermaid is located north of the docks, easily recognizable by the ship attached to its front door. Speak with Bosun Gannet behind the bar to the right of the entrance, but be prepared for unhelpful information. Gannet recalls Lora’s desperate actions but little else. If you pass another Arcana check, you will recognize that Gannet’s memories have been tampered with.
Captain Grisly, found in her private room to the right and past the stairs, is more informative. She describes Lora as a former pirate who has gone mad and imagines Vanra’s existence. Grisly is weary of Lora’s actions and offers you 3,000 gold to eliminate her permanently.
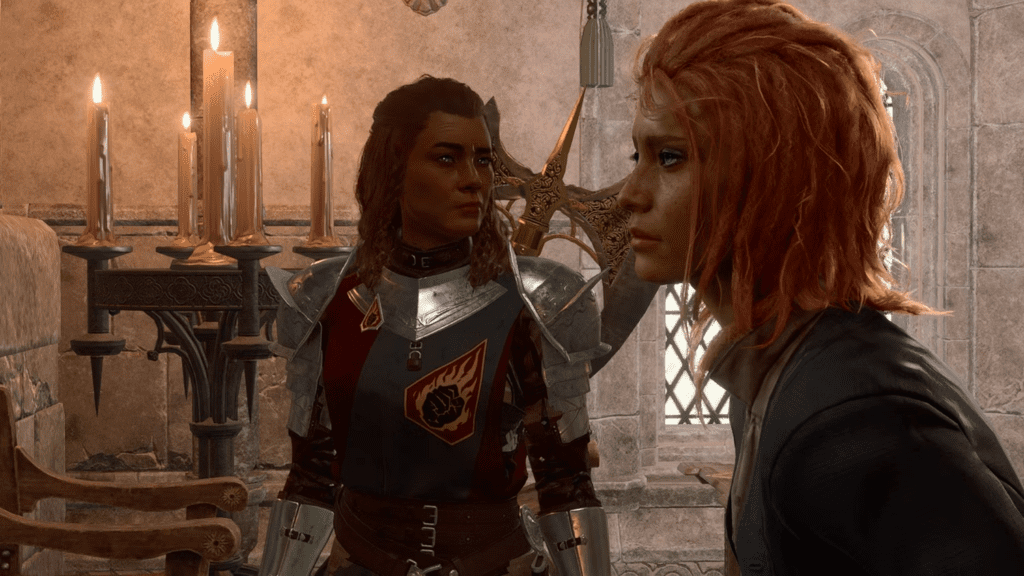
You can choose to accept this offer and confront Lora at her home. However, even if you agree and kill Lora, Captain Grisly will reveal her true identity as Auntie Ethel, the green hag from Act One. Auntie Ethel will also expose herself if you refuse to kill Lora. She plays a significant role in the story, particularly if you let her live in Act One.
3. Auntie Ethel’s Deception:
Auntie Ethel will share her sinister act of consuming Vanra. This horrifying act will gradually transform the girl into another hag. Auntie Ethel offers to help you during the finale in exchange for your cooperation and distance until then.
If you accept her offer, you’ll receive her assistance later in the game. In the alternative scenario, where you refuse to collaborate with her, you’ll receive an ultimatum.
Threatening Auntie Ethel will lead to her teleporting away, and her six crewmates in the tavern will reveal themselves as redcaps, attacking your party. While the redcaps are not overly formidable, they will provide an opportunity for Auntie Ethel to escape. Speak to Bosun Gannet about the brawl, but he remains heavily enchanted by the hag’s influence.
4. Finding Auntie Ethel:

To continue your quest, you must venture into the basement of the Blushing Mermaid. Enter through the door at the bottom of the stairs in Captain Grisly’s room or through the door next to Bosun Gannet’s bar; both lead to the same room.
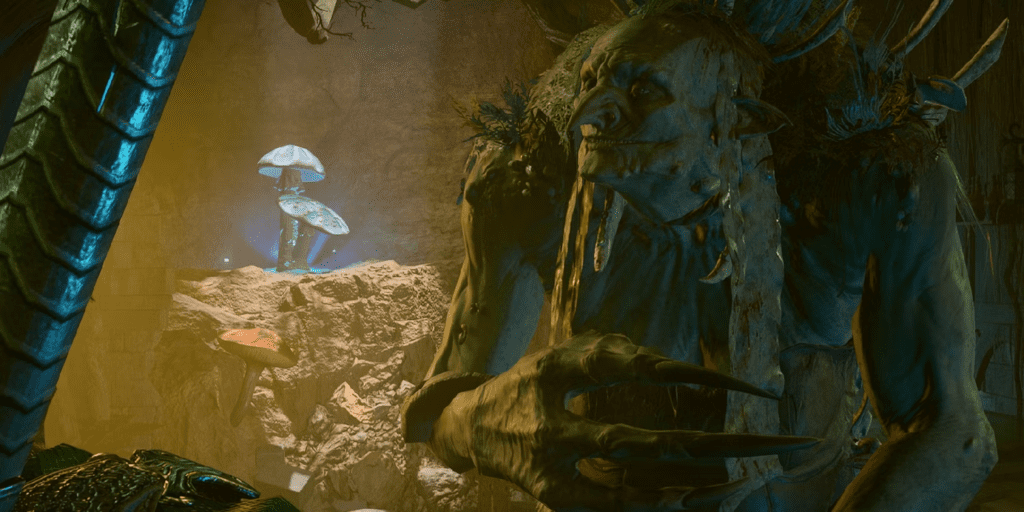
Inside the basement, you’ll notice a section of the wall filled with explosive barrels. Although blowing up the barrels won’t break the wall, it provides an exit from the boss arena. The actual route forward is an illusory wall above the barrels. Climb up to spot the illusion, and descend the ladder on the other side, leading to a natural cave filled with mushrooms and four masked humanoids. These individuals are enchanted by Auntie Ethel and hostile to your party. They can act in combat only if they fail a Wisdom save.
The four masked enemies represent different classes: a barbarian, a bard, a monk, and the genuine Captain Grisly. Three of them are too far gone to save, but you can rescue Captain Grisly by eliminating Auntie Ethel first. Alternatively, you can choose to spare her by delivering a nonlethal blow. Avoid engaging the masked enemies by steering clear of them, as the door to Auntie Ethel’s lair is situated near the entrance.
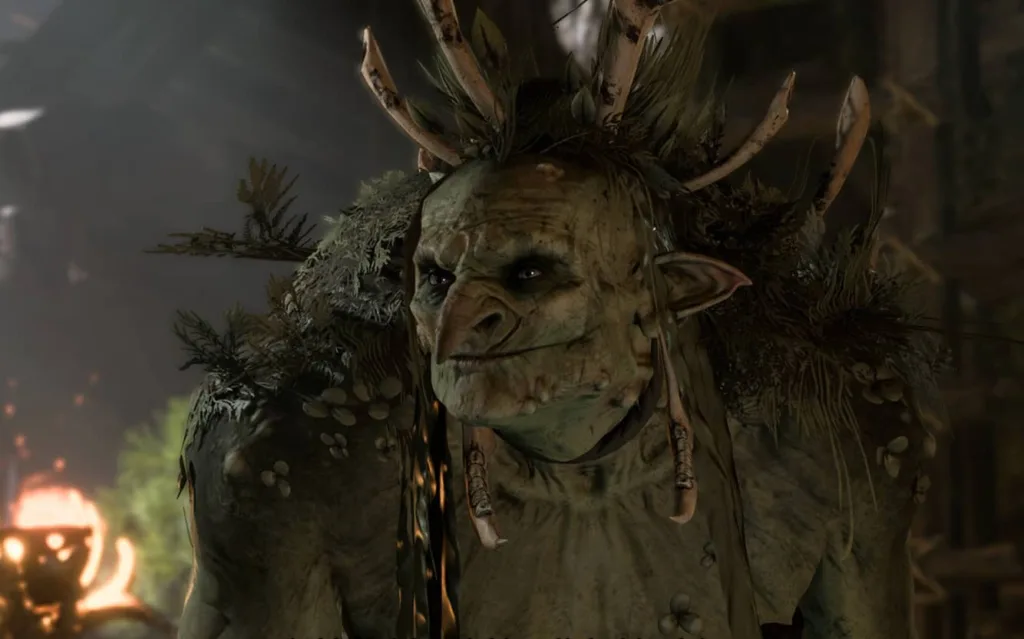
5. Confronting Auntie Ethel:
Auntie Ethel is a formidable adversary, though not substantially tougher than her previous appearance in Act One. She presents some unique challenges in this encounter:
Vanra’s Plight: Auntie Ethel will reiterate the truth about Vanra – if she dies while Vanra is within her, the girl will also perish. You have two options to circumvent this issue: a. Create a Hag’s Bane grenade using the recipe from the “Help the Hag Survivors” quest and throw it at Auntie Ethel to force her to regurgitate Vanra. b. Eliminate Auntie Ethel with a nonlethal attack and subsequently free Vanra during the ensuing conversation.
Clones: In this battle, Auntie Ethel can summon up to five clones of herself. Each clone will use a modified version of Ray of Sickness and then turn invisible. Any damage dealt to a clone will cause it to disappear. The initiative tracker can help you identify the real Auntie Ethel.
Pearlspore Bell: Three mushroom clusters, known as Pearlspore Bells, pose another challenge. They will resurrect Auntie Ethel with full health if she is defeated. These clusters regenerate their hit points at the end of each round. You must target each Pearlspore Bell with your party members to prevent Auntie Ethel’s revival. The cantrip Chill Touch can also be helpful, as it prevents all healing for a full round.
Once Auntie Ethel is defeated, you can claim valuable loot, including a Potion of Angelic Slumber, Corellon’s Grace (a quarterstaff for monks), the Ring of Feywild Sparks (a ring for sorcerers), a Tarnished Charm (making death saving throws easier), and several slime bombs.
If Vanra survives, you will receive the Amulet of Windrider (featuring a unique level three spell) and the Duelist’s Prerogative (a potent +3 rapier with special abilities). Finally, you can share the good news with the hag survivors, bringing closure to the quest.