Do you strive to unravel the mysteries of Sea of Stars and unearth its hidden treasures? Look no further, as we unveil the locations of all five Solstice Shrines in the game.
Navigating the world of Sea of Stars is a challenging endeavor, and each Solstice Shrine presents its own unique puzzle and trials to conquer. In this comprehensive guide, we will not only pinpoint the exact whereabouts of every Solstice Shrine but also provide insights on how to access these enigmatic places.
Solstice Shrine #1 – Evermist Island
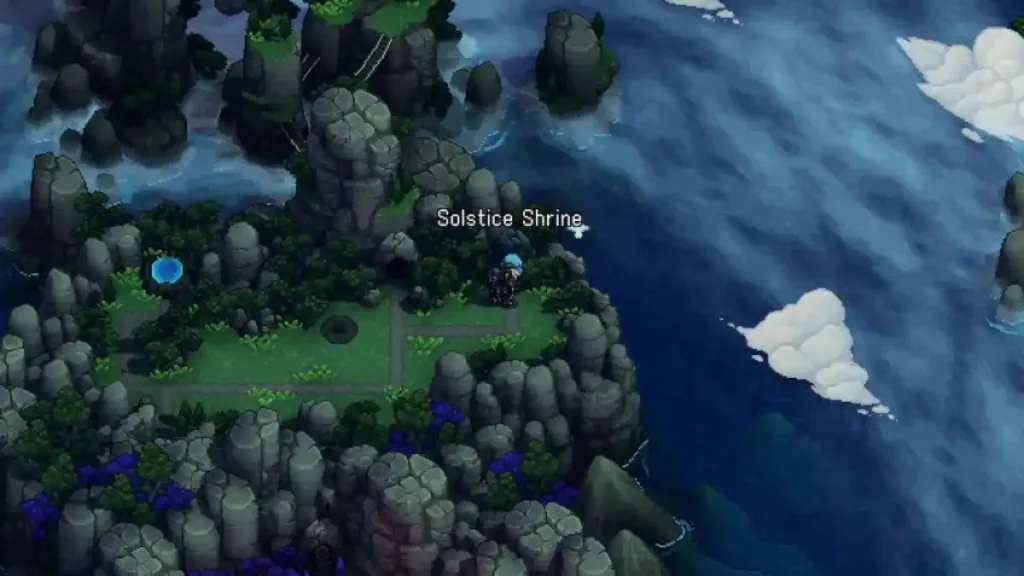
Our journey begins with the first Solstice Shrine, nestled on Evermist Island at the far right of the map, just before the dock. Gaining entry to this shrine requires the elusive Solstice Chamber Key, a reward bestowed by Elder Moraine.
Solstice Shrine #2 – Wraith Island
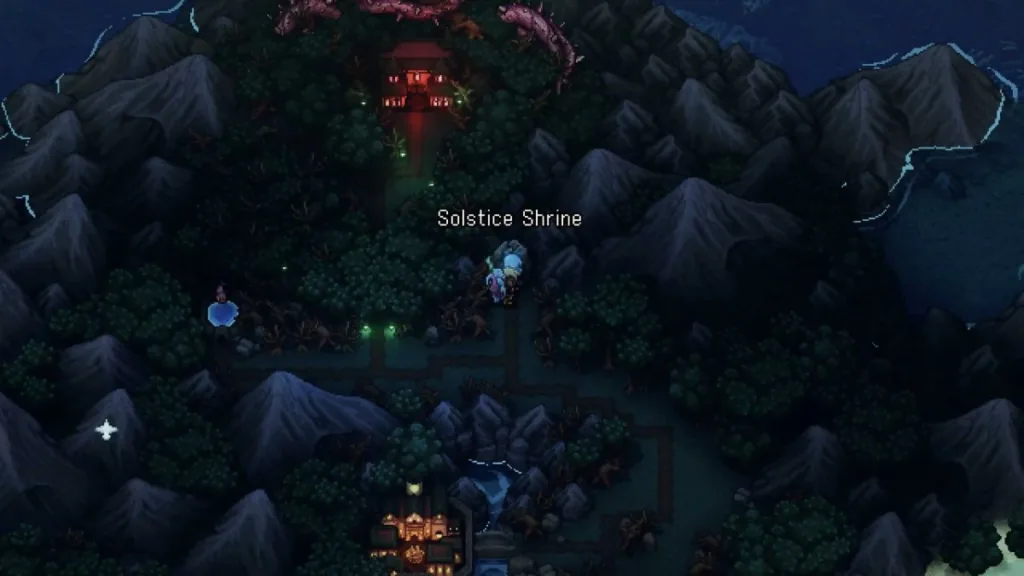
The second Solstice Shrine awaits on Wraith Island, situated right after the Town of Lucent. To find it, head right of the Cursed Woods and below the Cursed Mansion. However, gaining access to this shrine hinges on your progress in the main story on Wraith Island, particularly the acquisition of the Graplou.
Solstice Shrine #3 – Solstice Shrine Island Near Skyward Spine
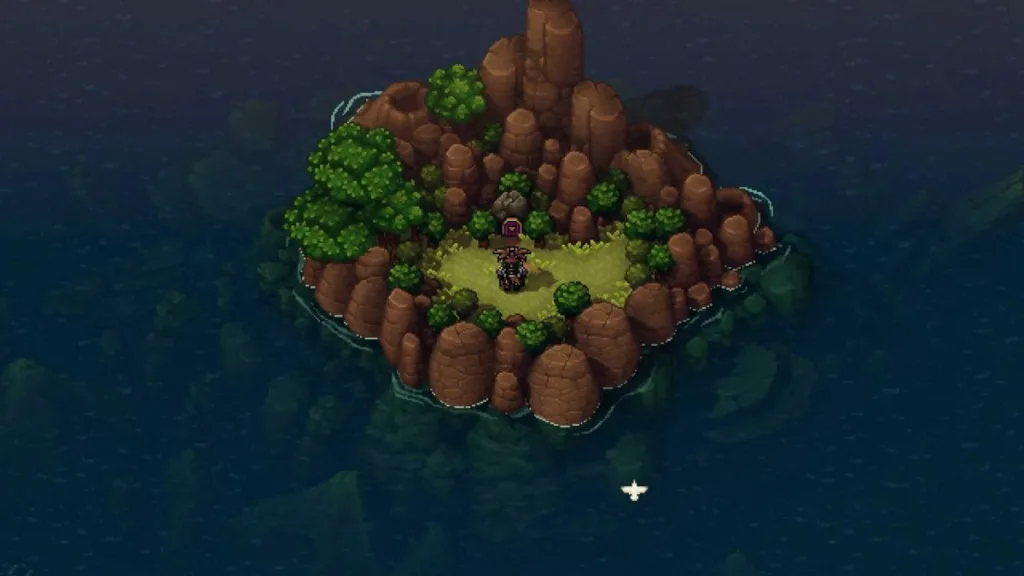
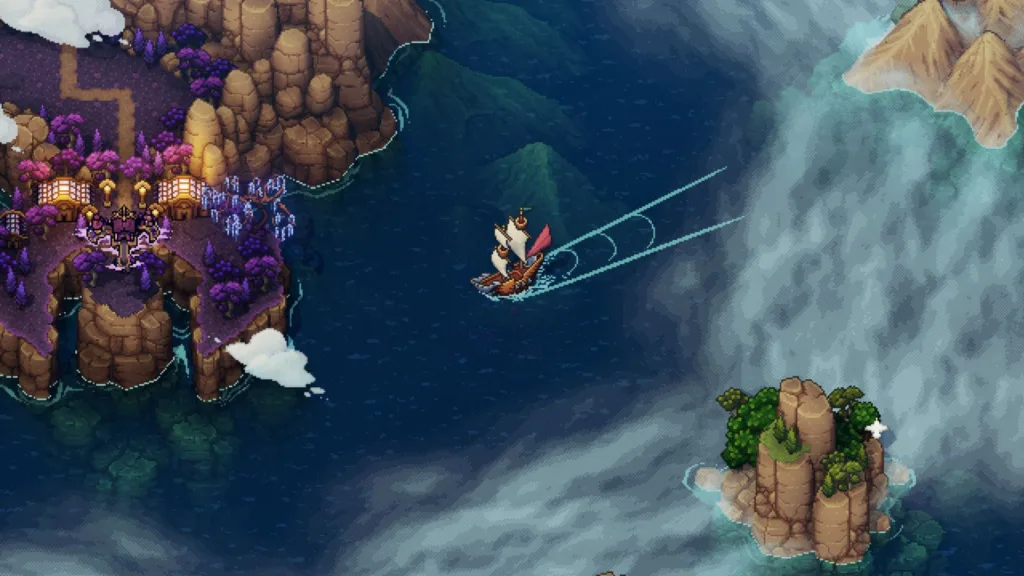
The third Solstice Shrine is concealed within the home world map, nestled on an island close to Skyward Spine, aptly named Solstice Shrine Island. This location becomes accessible through Valere and Zale’s ability to fly.
Solstice Shrine #4 – Solstice Shrine Island Near Sleeper Island
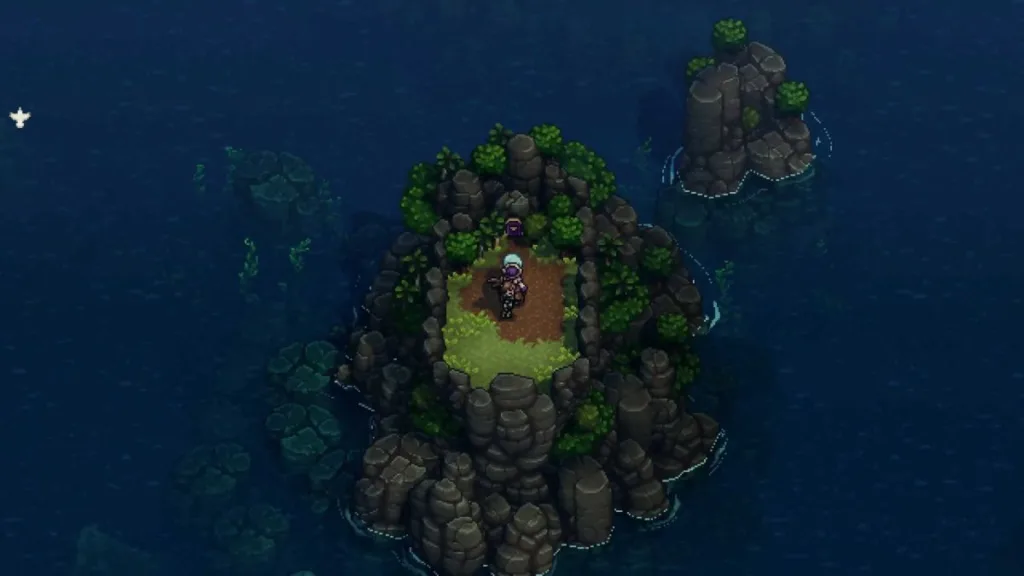
Much like the previous shrine, the fourth Solstice Shrine resides in the Home World Map, this time proximate to Sleeper Island. Again, Valere and Zale’s ability to fly is imperative for reaching this secluded spot.
Solstice Shrine #5 – Serai’s World Island
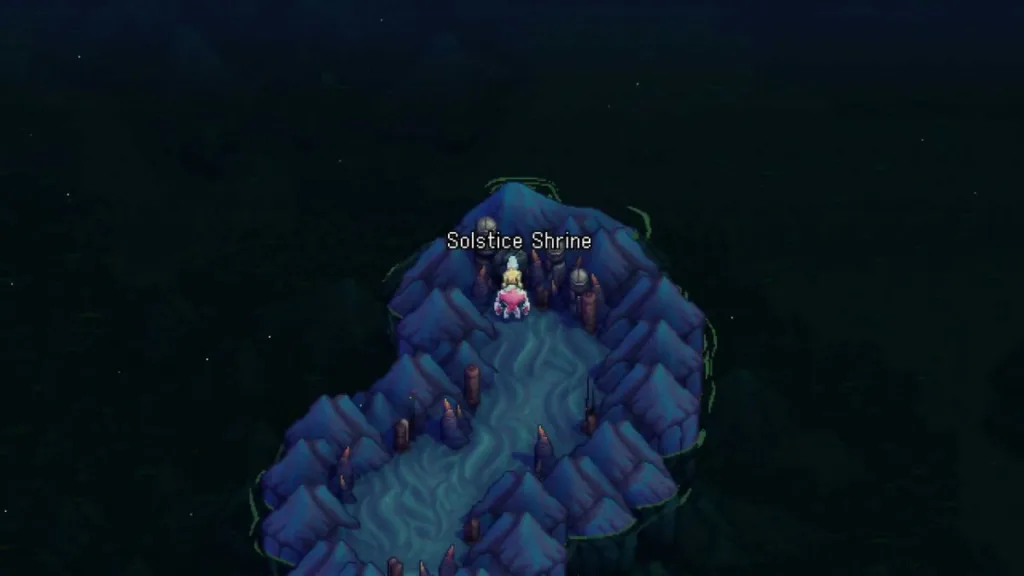
The fifth and final Solstice Shrine lies on Serai’s World Map, tucked away in the southwestern corner. Similar to the others, this island requires Valere and Zale’s flying capabilities and can only be accessed through the Sea of Stars.
Solstice Shrine Rewards in Sea of Stars
Every Solstice Shrine holds its unique reward, each well worth the trials encountered to claim them:
- Shrine #1 – Soonarnag Combo: This grants you access to Lunar and Solar magic projectiles that can bounce to multiple targets.
- Shrine #2 – Solstice Sash: Equipping this sash enhances your Magic Attack by +7.
- Shrine #3 – Heliacal Earrings: These earrings boost your Magical Attack by +10 and enable Sunball to inflict full damage on splash targets.
- Shrine #4 – Eclipse Armor: A valuable armor set that you can obtain as a reward.
- Shrine #5 – Celestial Ray: Enjoy a bonus of +5 to your Magical Attack, and regular attacks now regenerate +1 MP.
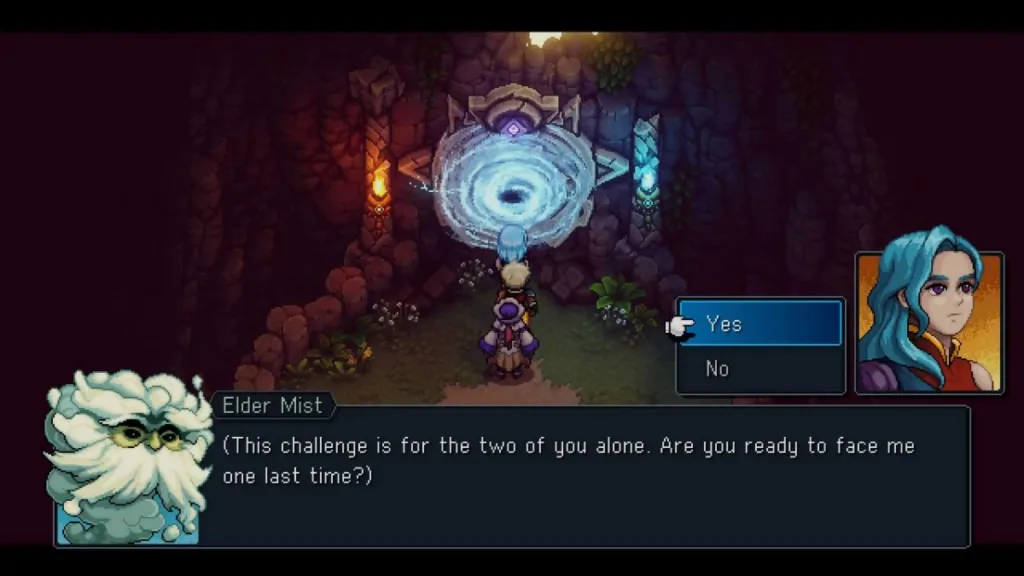
Furthermore, a grand prize awaits those who conquer all five shrines. Venture back to the area where you initially encountered Elder Mist at the beginning of the game, and follow the Mountain Trail. Within a nearby cave, you will stumble upon the Rune you witnessed after completing each shrine. Interact with it to engage in a fierce battle with the Elder Mist once again. Overcoming this formidable foe will bestow upon you the coveted Moon Bo and the Sun Blade, which stand as the ultimate weapons in Sea of Stars, tailor-made for Zale and Valere.
In summary, armed with this guide, you can embark on a quest to discover and conquer all five Solstice Shrines in Sea of Stars. Each shrine is located in various corners of the world and necessitates considerable progression through the main story. The rewards are well worth your perseverance and determination.
Have you successfully unearthed and conquered all five Solstice Shrines? Share your experiences and thoughts in the comments below.