Navigate the intricate puzzle in the Thorm Mausoleum of Baldur’s Gate 3 and unlock hidden knowledge and rewards.
In Baldur’s Gate 3, a game deeply rooted in the Dungeons & Dragons 5e system, it’s only natural that intricate dungeons await exploration. Among them is the enigmatic Thorm Mausoleum, housing a perplexing puzzle. If you find yourself stuck within its cryptic depths, this puzzle guide is your key to unraveling its secrets.
The Thorm Mausoleum in Baldur’s Gate 3 lies somewhat off the beaten path, concealed within the Shadow-Cursed Lands. It’s a destination ripe with rewarding discoveries beyond the realm of mere material riches.
Solving the Thorm Mausoleum Puzzle bestows players not only with typical treasures found in Baldur’s Gate 3 but also with profound insights into the somber history of the Shadow-Cursed Lands and the hidden secrets of General Ketheric Thorm. Furthermore, you’ll gain knowledge about Shadowheart’s origins and advance Astarion’s quest line. It’s a multifaceted reward for the determined adventurer.
To embark on this journey, let’s start from the beginning and delve into one of the most complex and challenging dungeons Baldur’s Gate 3 has to offer: the Thorm Mausoleum.
Baldur’s Gate 3: Finding the Thorn Mausoleum
The Thorm Mausoleum is nestled in the northwestern expanse of the Shadow-Cursed Lands. To reach it, you must traverse past the enigmatic House of Healing and a shadow-infested graveyard brimming with lurking adversaries.
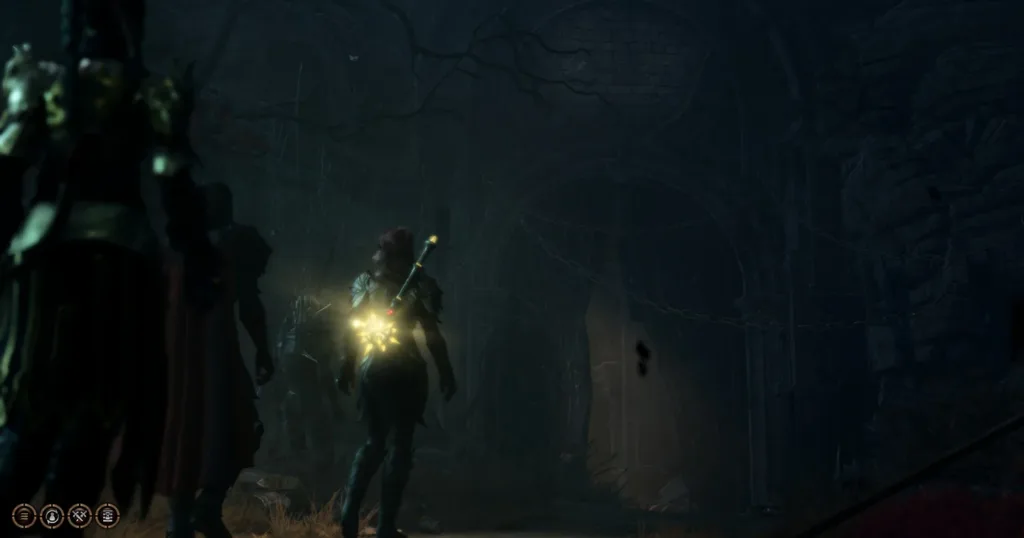
At the entrance to the mausoleum, you’ll encounter Raphael. Regardless of how you handle this meeting, you’ll gain access to this optional dungeon. While the initial area is relatively small, it is secured by a puzzle. To overcome this initial obstacle, you need to read three diaries and unlock the puzzle.
Here’s how to tackle this challenge:
Baldur’s Gate 3: The Diaries Location & Puzzle
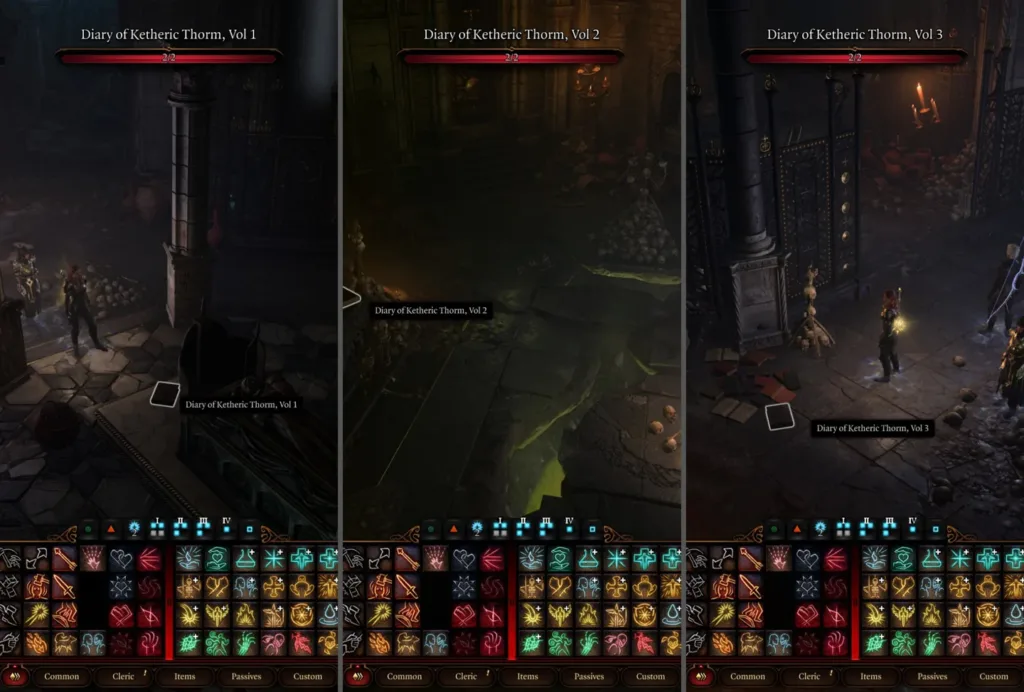
To gather crucial information, closely examine the diaries located in the entrance hall, as depicted in the accompanying image. An altar displays a Stained Book, offering subtle hints for the impending puzzle.
As you venture further into the northern room, you’ll encounter an empty coffin, several ground traps, and three paintings adorning the wall. For this small room, it’s advisable to control a single character since your companions tend to trigger the traps, making disabling them unworthy of your efforts.

To solve the puzzle, interact with the paintings in the following order:
- Moonrise Towers
- Grief
- General
Upon successfully deciphering this enigma, you’ll gain access to the next room and descend into Shar’s Sanctum. Here, you can search for the Nightsong, an item of great significance, and tackle an intricately designed challenge. Hats off to Larian Studios for this remarkable endeavor!