Unleash Your Creativity by Changing Your Minecraft Skin
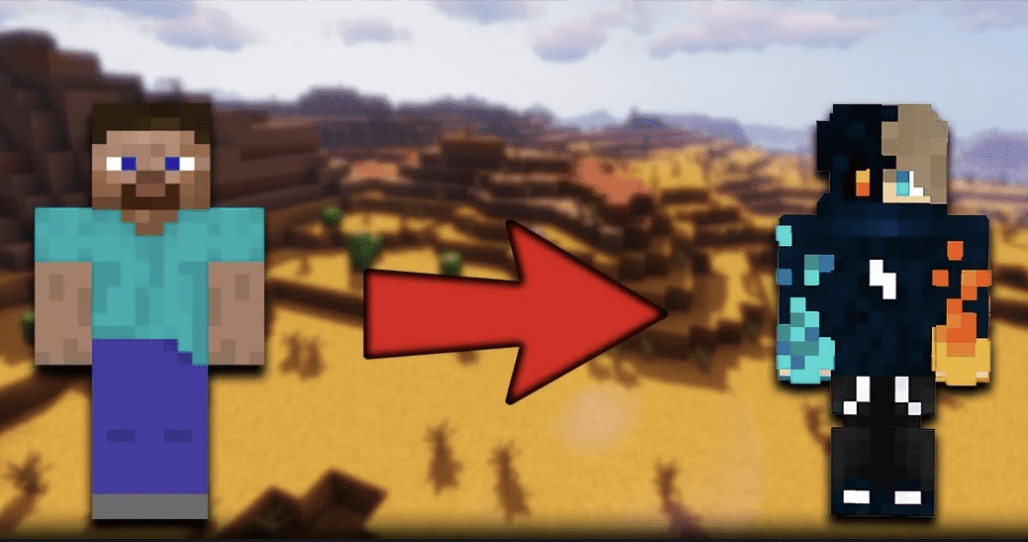
In the vast realm of Minecraft, where creativity knows no bounds, personalizing your character is a rite of passage. With an array of skins available, transforming your in-game persona is a breeze. Learn how to change your skin in Minecraft on various platforms with this quick guide.
Changing Skin on PC: A Step-by-Step Guide
- Find the perfect skin: Explore skin repositories on numerous websites. Customize or modify using Skin Editors if desired.
- Download the chosen skin: Ensure it’s in PNG format.
- Navigate to minecraft.net.
- Log in and access the Profile tab from the top-right drop-down menu.
- Click on Browse, locate your downloaded PNG file, and select it.
- Save and Upload: Confirm your changes by clicking this button. Your new skin is now linked to your profile.
Changing Skin in Minecraft PE and Bedrock Edition: A Seamless Process
- Launch Minecraft on your device.
- Locate the Dressing Room button, leading you to the skin library.
- Find the green icon on the left, directing you to the Classic Skins tab.
- Under Owned Skins, choose a blank, gray skin.
- If done correctly, a Choose New Skin button appears. Use it to upload your selected PNG file.
In Minecraft PE and Bedrock Edition, embrace even more creativity:
- Create your own skins using templates for hair, face, clothing, and shoes.
- Modify colors for hair, clothes, and skin tone.
Express yourself and stand out in the pixelated universe of Mine-craft by changing your skin effortlessly. Whether on PC or handheld devices, this guide ensures you have the freedom to showcase your unique style. Ready to embark on a new visual adventure? Your Mine-craft journey awaits with a revamped and personalized character.
For the latest gaming Guides, Updates and News, don’t forget to visit our dedicated gaming page. GAMING GUIDES Stay informed and level up your gaming experience with our fresh content!