Navigating the Mysteries of the Sacrificial Offering Quest in Genshin Impact
Embark on an iconic adventure in the world of Genshin Impact with this detailed guide on overcoming the challenges in the Sacrificial Offering quest, set in the intriguing region of Inazuma.
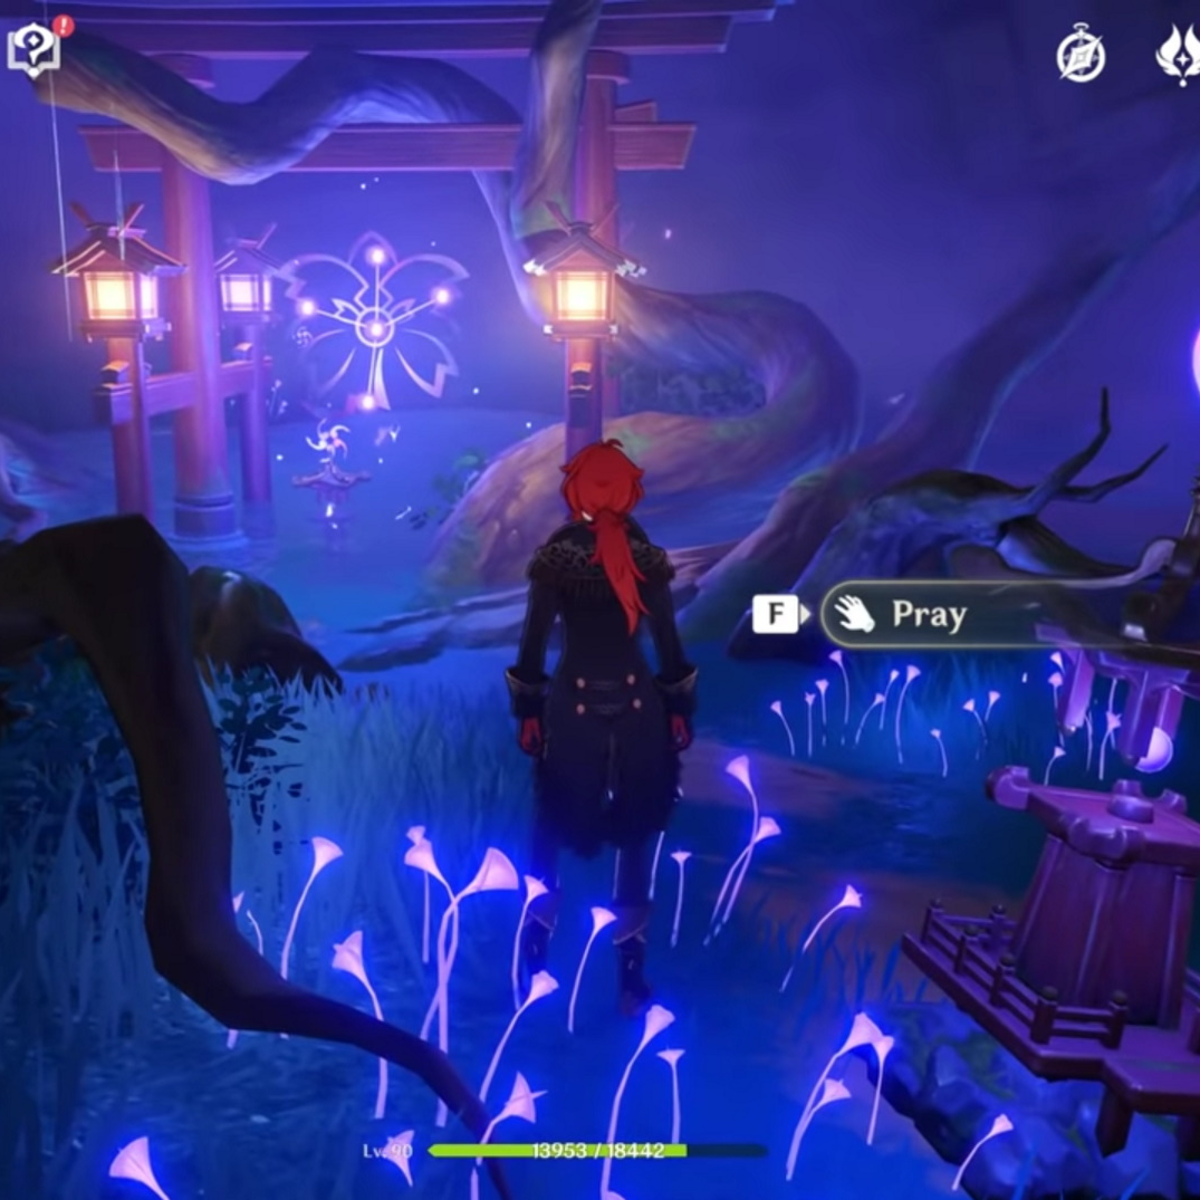
Beginning the Journey in the Sacrificial Offering Quest
Your adventure starts at the Abandoned Shrine, located northeast of Konda Village. This is where you’ll immerse yourself in the shrine’s deep history and prepare for the upcoming challenges. Brace yourself, as this quest is a true test of your abilities.
Tracing the Path of Mysterious Shadows
Your task is to find and interact with Mysterious Shadows scattered around the area. These Shadows are near various landmarks such as the shrine, Fox Statues, smaller shrines, rooftops, and under a tree. You will find these elusive figures in specific locations:
- In front of the main shrine
- Near a smaller, secondary shrine
- On the roof of a building in the distance
- Underneath the branches of a tree close to the Fox Statues
Once you successfully locate all the Shadows, you’ll be rewarded with three treasure chests, and the quest will advance to the next stage.
Enlisting Aid from Narukami Shrine
Heeding Paimon’s suggestion, your next move is to visit the Narukami Shrine. Here, you’ll obtain the Memento Lens, an essential tool for progressing in the quest. Utilize this lens to scan Kitsune statues, revealing crucial phrases needed for subsequent steps.
Uttering the Sacred Words
Return to the shrine and correctly recite the sacred words in front of the Sky Kitsune statue. It’s crucial to get the order right:
- “In the name of Narukami’s envoy.”
- “And of the Hakushin bloodline.”
- “Bring forth the fried tofu!”
Successfully completing this recitation opens the path to the quest’s final challenge.
Neutralizing the Barrier in Chinju Forest
Finding the Corrupted Barrier:
- Travel east from the Ioroi statue towards the coast to find the corrupted barrier.
- A cutscene will play, revealing the hidden location of the barrier in the side of a cliff.
Activating the Puzzle:
- After receiving a ward from Ioroi, interact with the first shrine pillar to start the puzzle.
Solving the Constellation Puzzle:
- Rearrange the shrine pillars according to the constellation pattern shown.
- Correctly setting the pillars summons the miniboss, Ochimusha.
Confronting Ochimusha:
- The battle with Ochimusha may be challenging, but with a strong team and healer, it can be managed.
- Defeating Ochimusha rewards you with 30 Primogems and 3 Heroes Wit, marking a successful completion of this phase.
This comprehensive guide should equip you with the knowledge and strategy needed to navigate through the complexities of the Sacrificial Offering quest in Genshin Impact. Remember, each step is crucial in unraveling the mysteries of the quest and successfully overcoming the barrier. Good luck, and enjoy the adventure that awaits in the enchanting world of Inazuma!
Disclaimer: This image/content includes references to the original creator for attribution purposes. All rights and credits for the creation of this content belong to the respective copyright holder. miHoYo